DIY
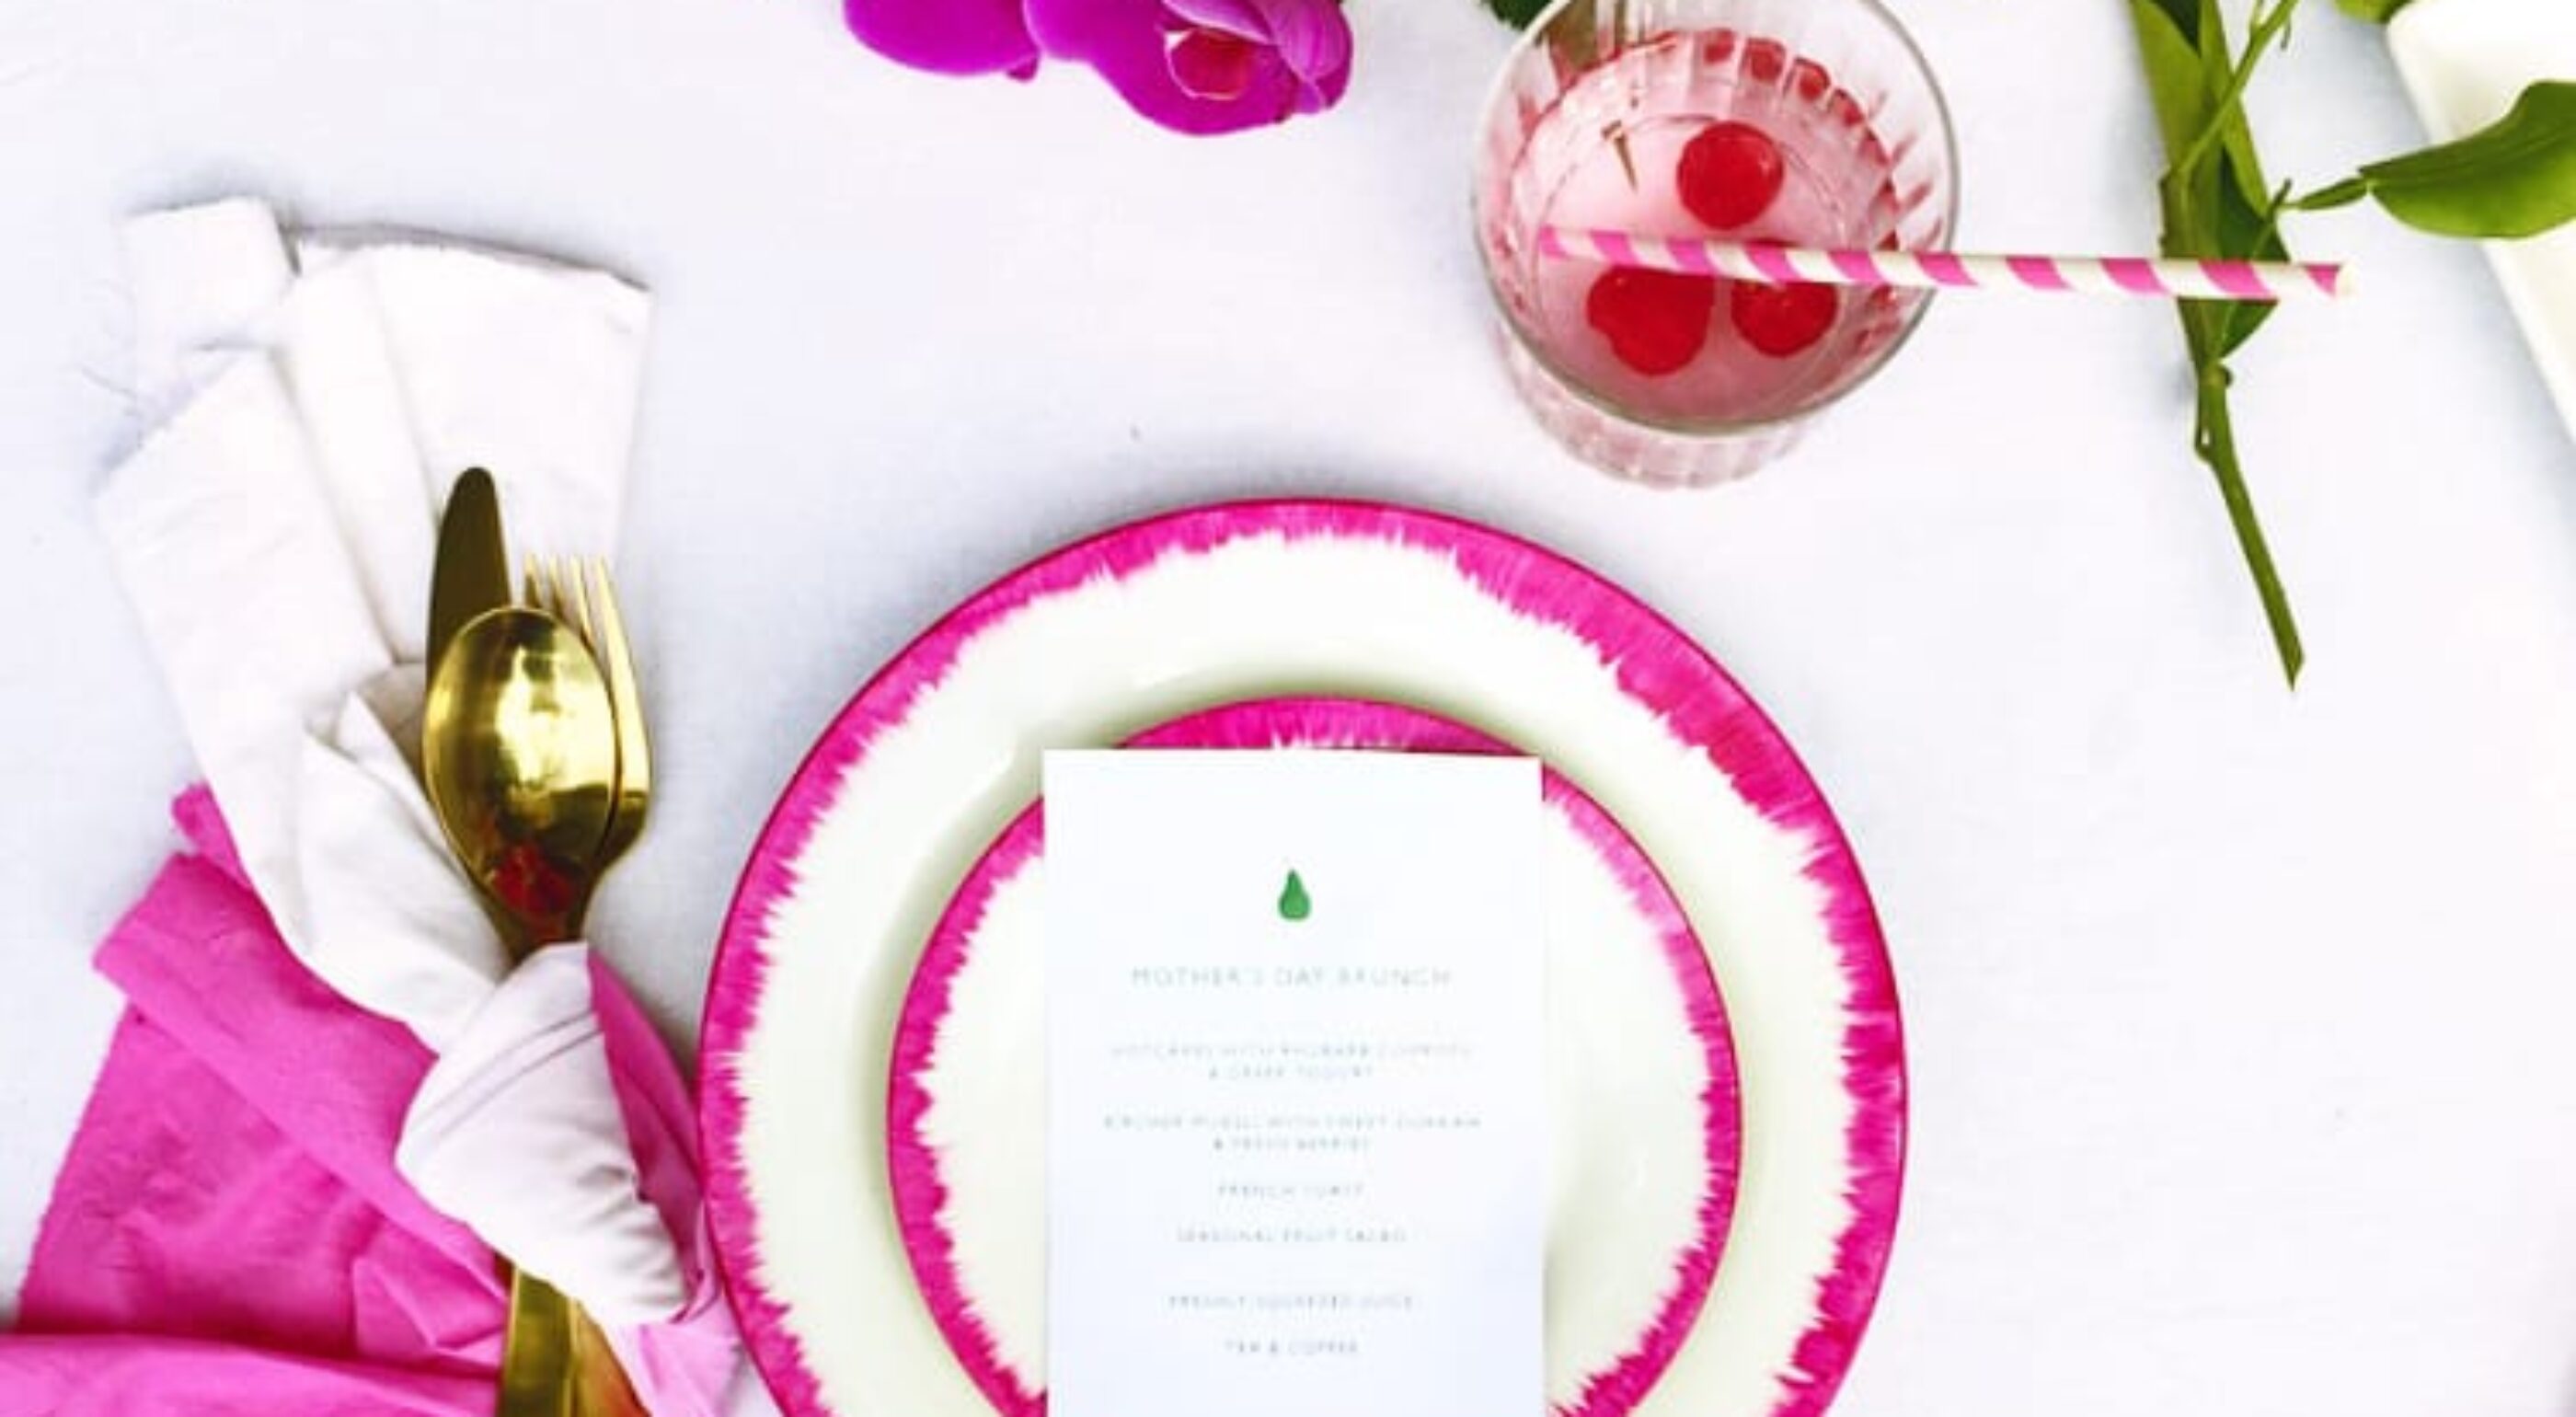
DIY: Ikat-inspired Tableware
March 11, 2016
We’re always inspired by the creative pursuits of Elleni Pearce and her online party hub Lenzo, which is why we’re pretty darn excited to share the first in a series of DIY posts from the talented team.
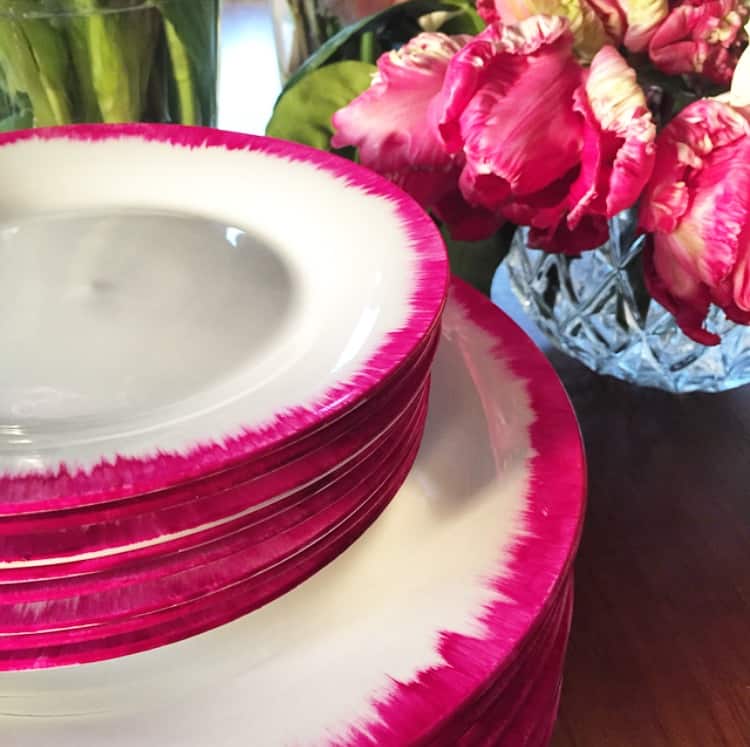
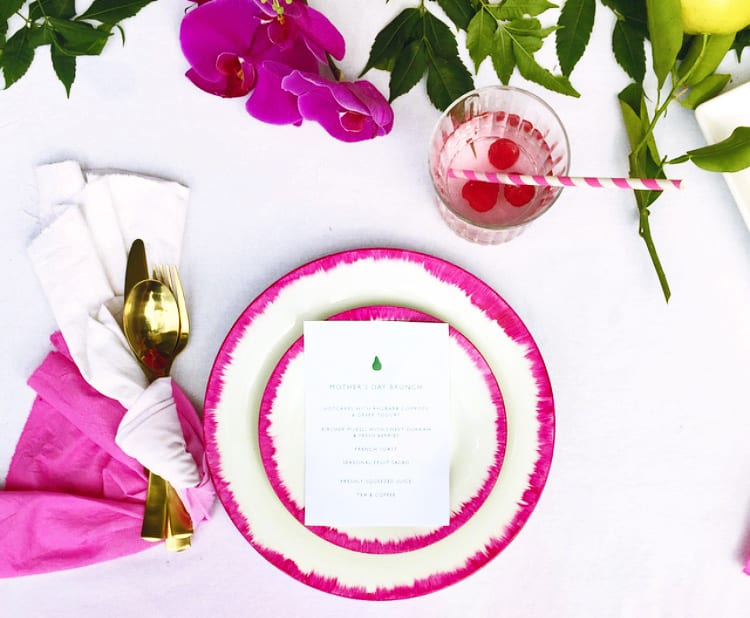
For this first how-to, Lenzo teamed up with Miss Bunting to create these gorgeous ikat-inspired plates, which are frankly genius in their simplicity. They’re the perfect way to create a completely unique table setting, and so easy you’ll want to create a new set for every party!
So over to the creatives for the step-by-step…
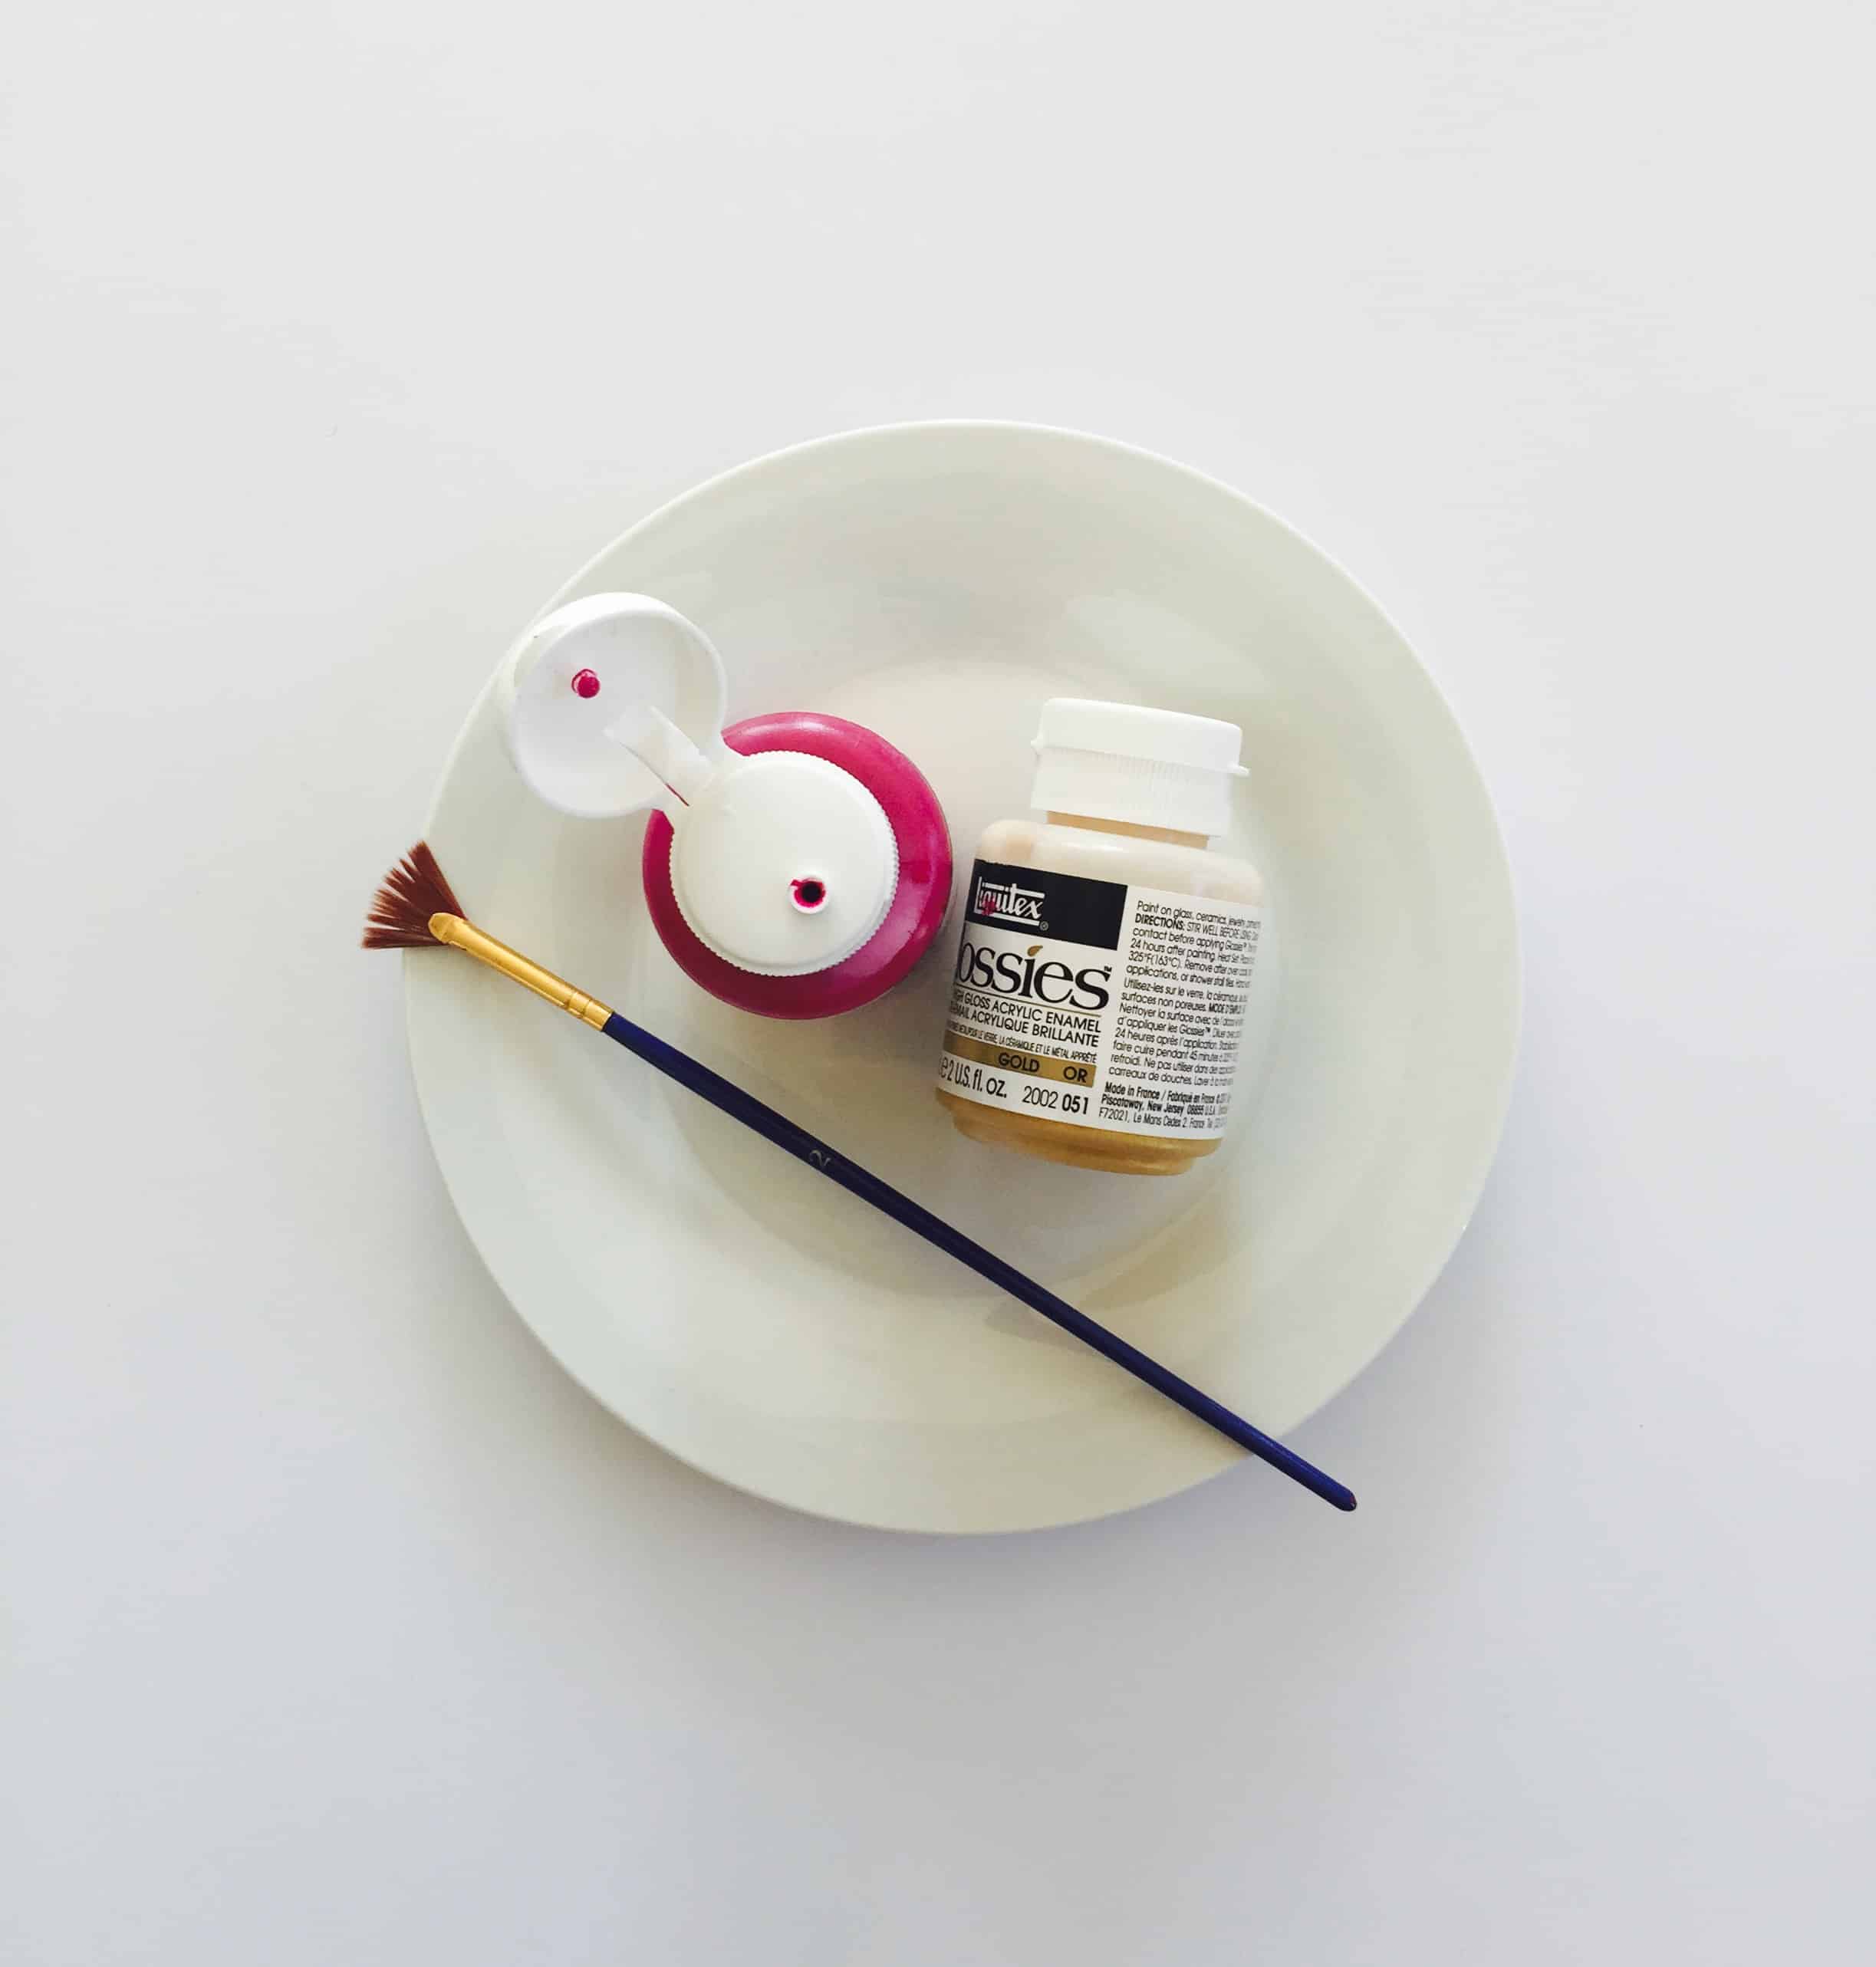
You’ll need:
- Plain plates – ours were $2 from Kmart
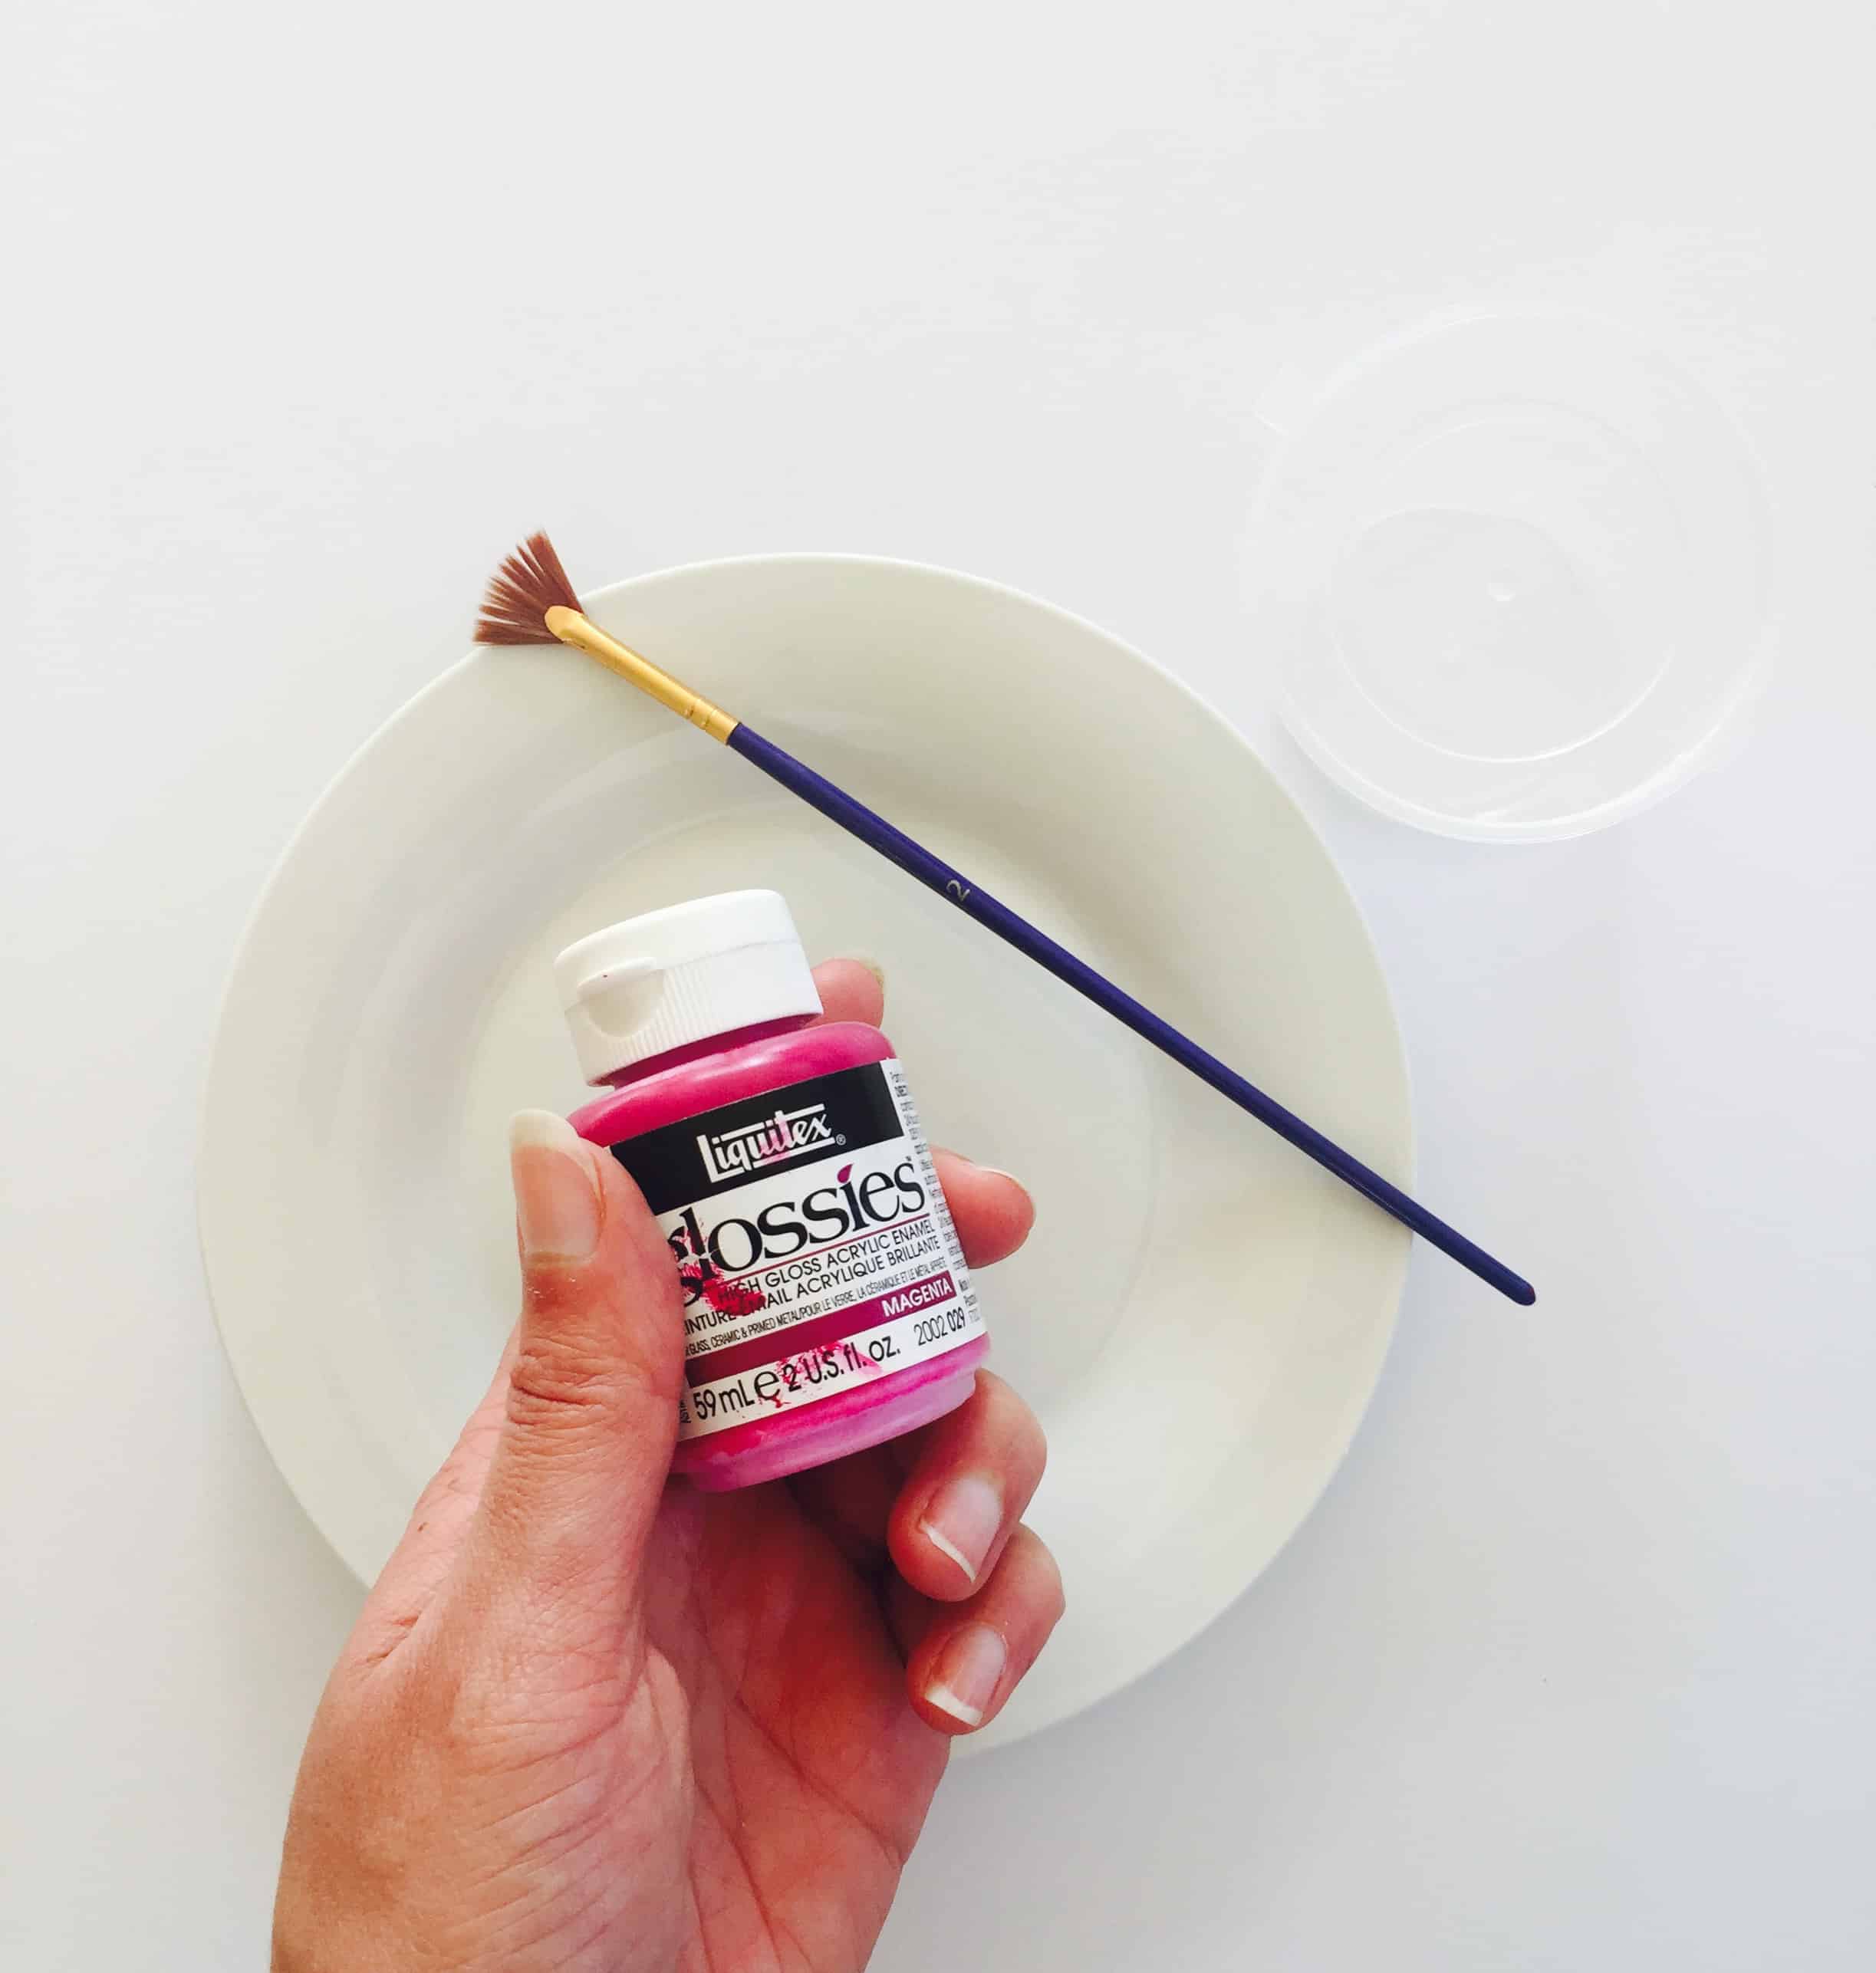
- Porcelain paint. We used Liquitex Glossies in Magenta
- Paintbrush – we used a fan brush so you can see the brushtrokes
- Small container
- Oven
Because you’ll be using a porcelain paint that is baked on an already-fired ceramic piece and not baked in, like an unglazed piece of pottery you’d put in a kiln, it doesn’t have the same durability. This is why keeping your artwork around the side is advised and not on the main plate – it’ll last a whole lot longer as it won’t get scratched. Also, be sure to handwash and avoid harsh detergents and scourers.
Step by step
1. Make sure all your plates are clean and try not to handle too much as the natural oil from your hands can interfere with the paint.
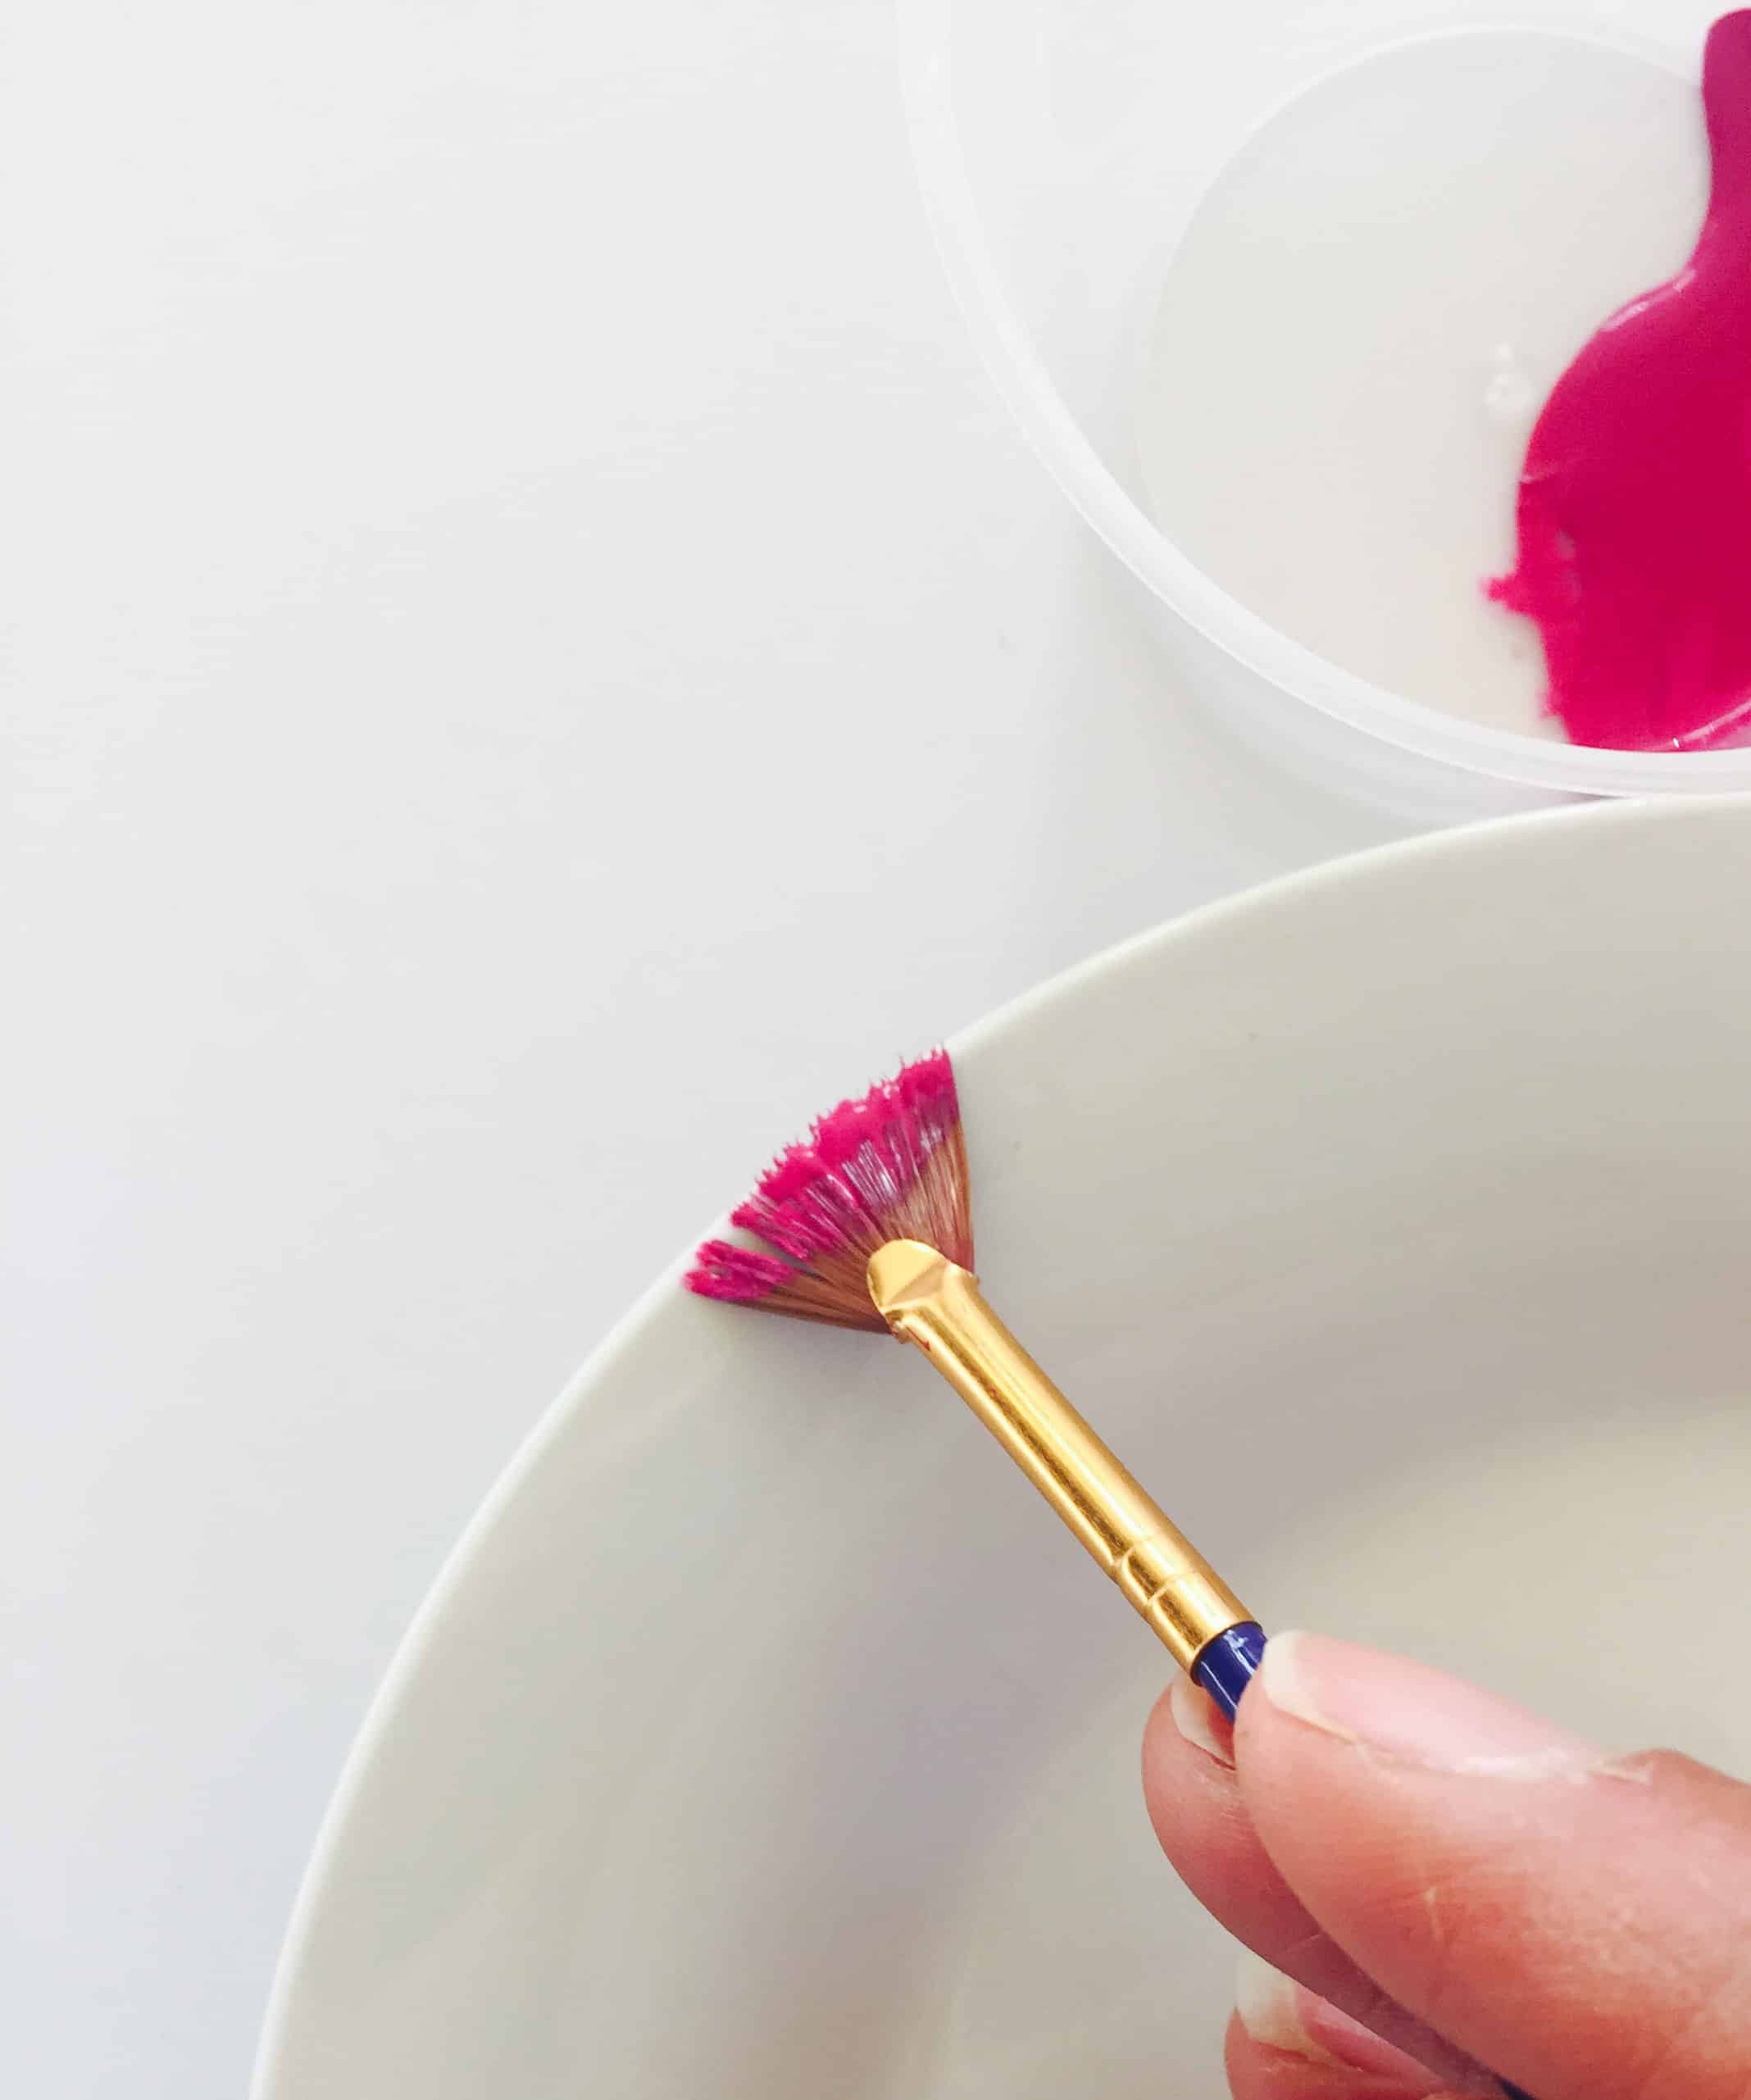
2. Squeeze a small amount of your porcelain paint out into a small container and load your paint brush, removing the excess (like you would nail polish). It may take a bit of practise to work with the right amount – you don’t want a lot of paint so you can see the flick of the paintbrush.
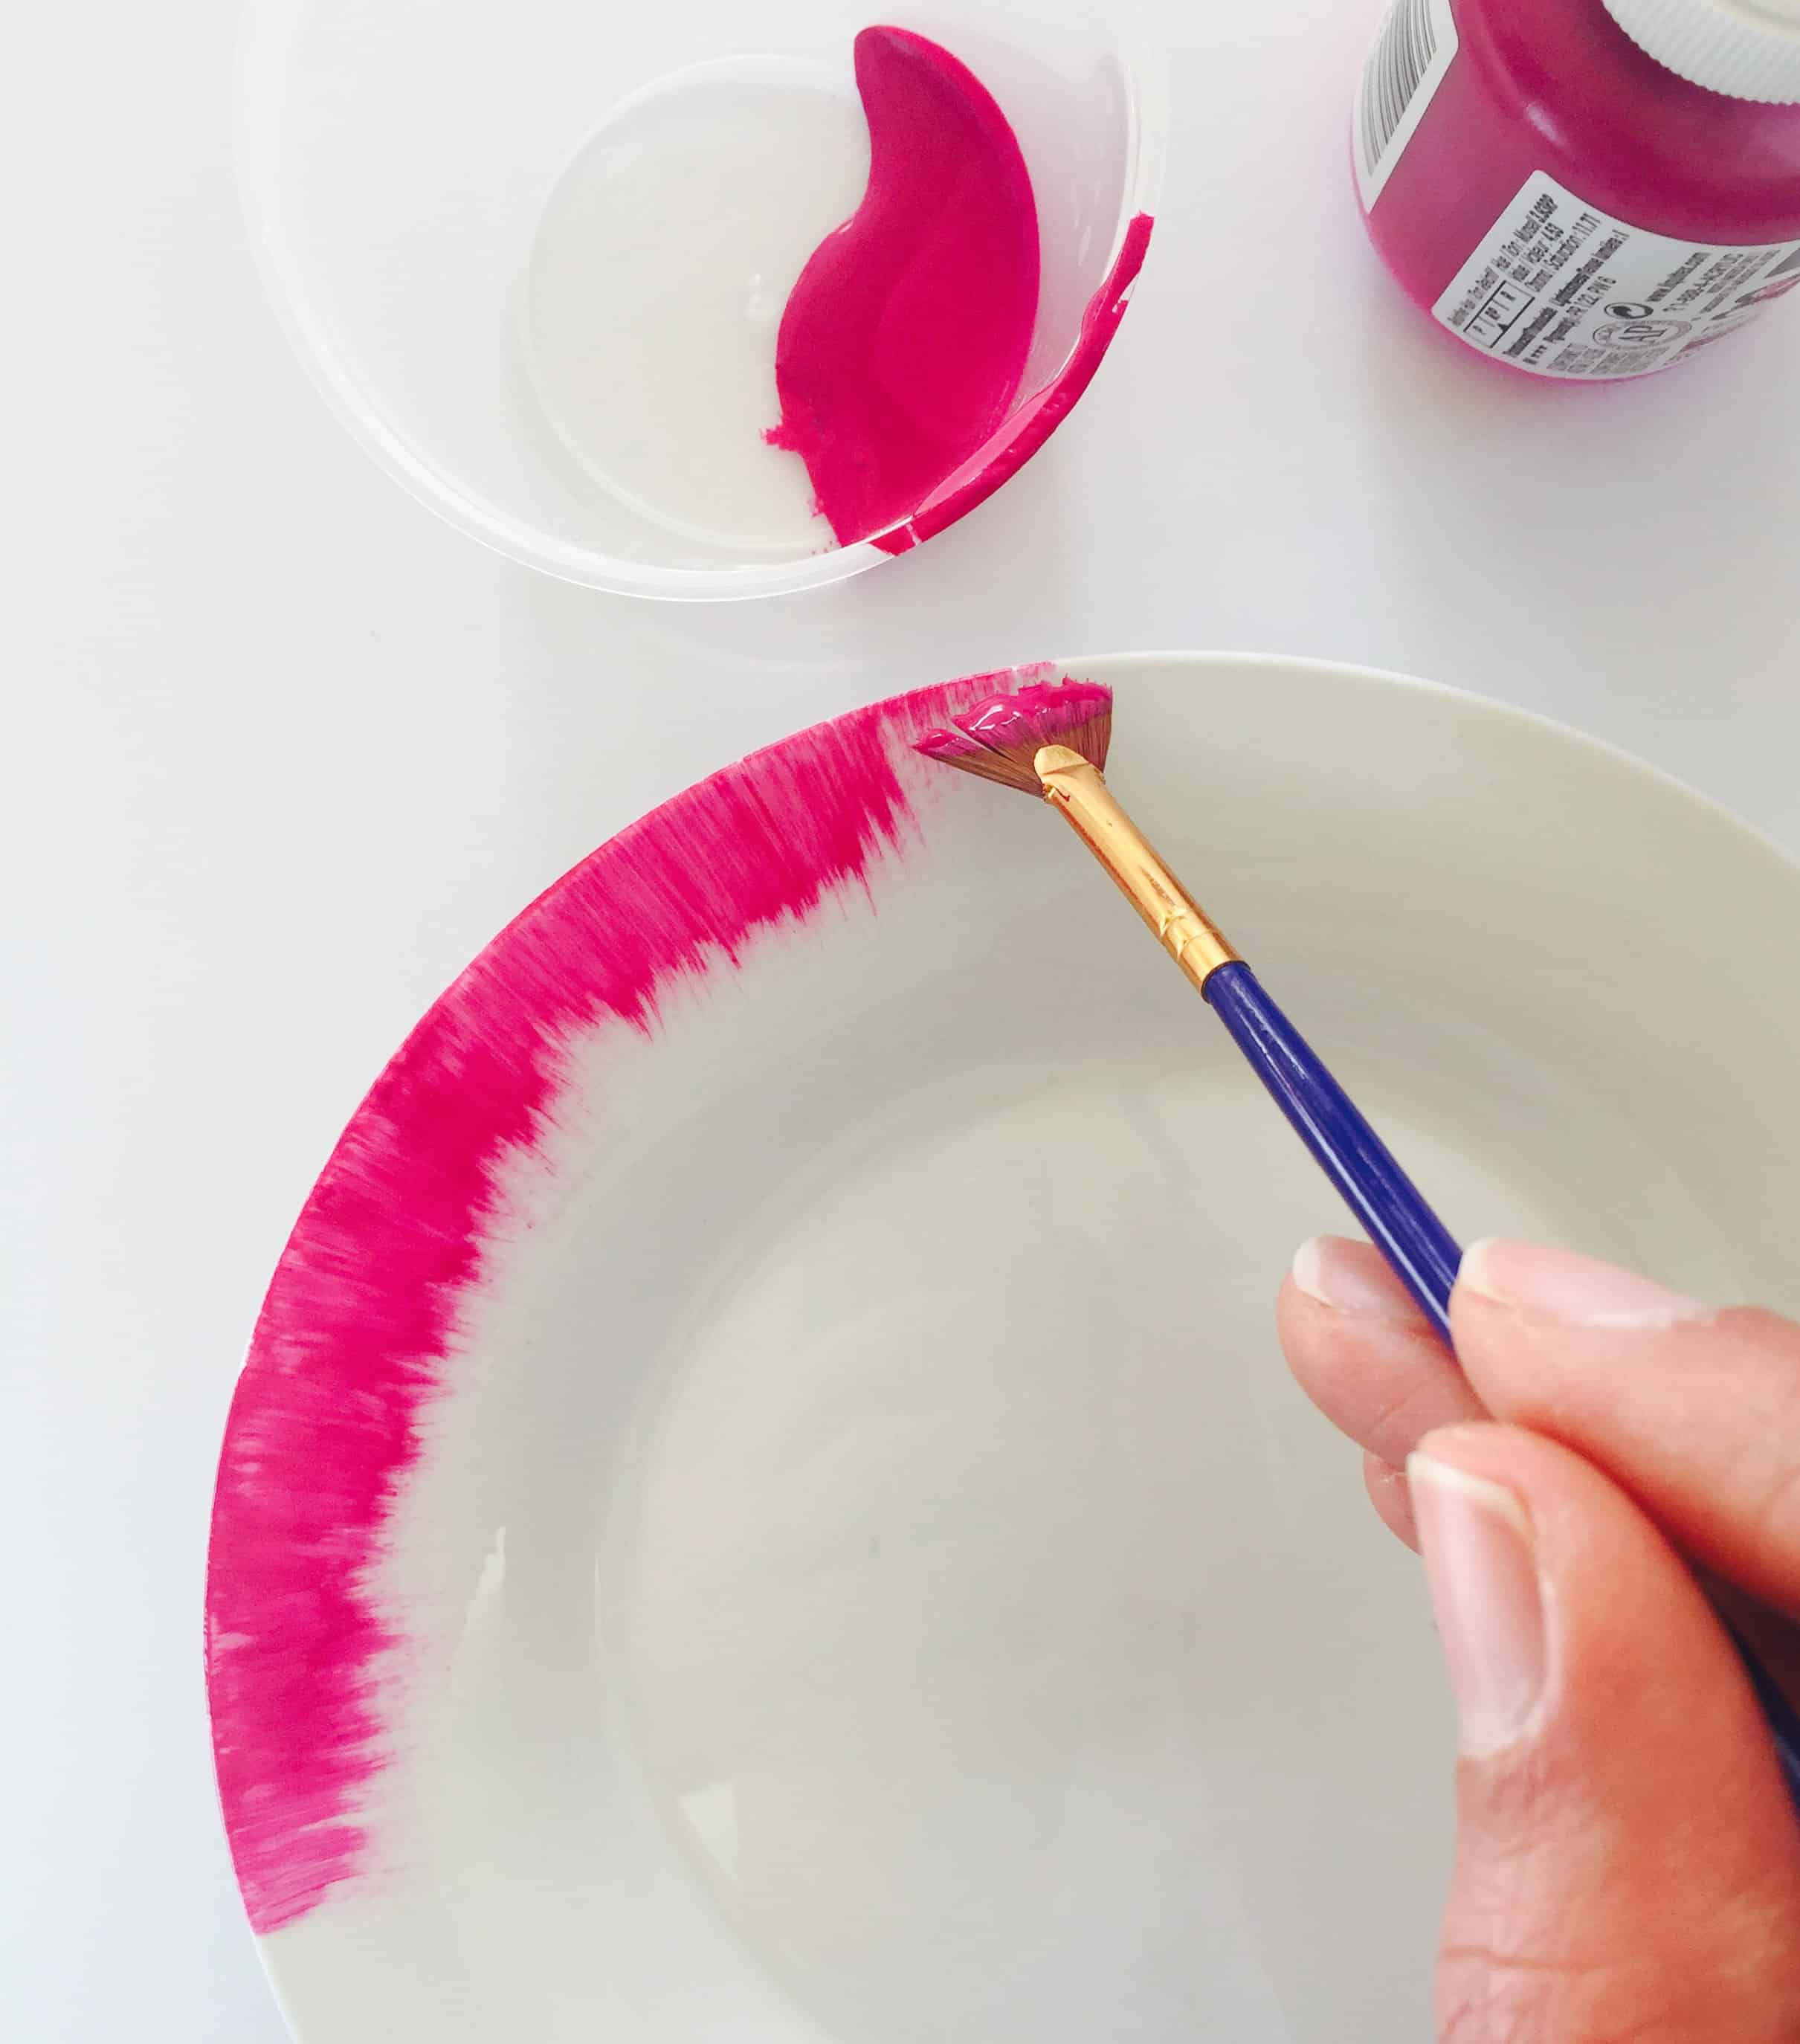
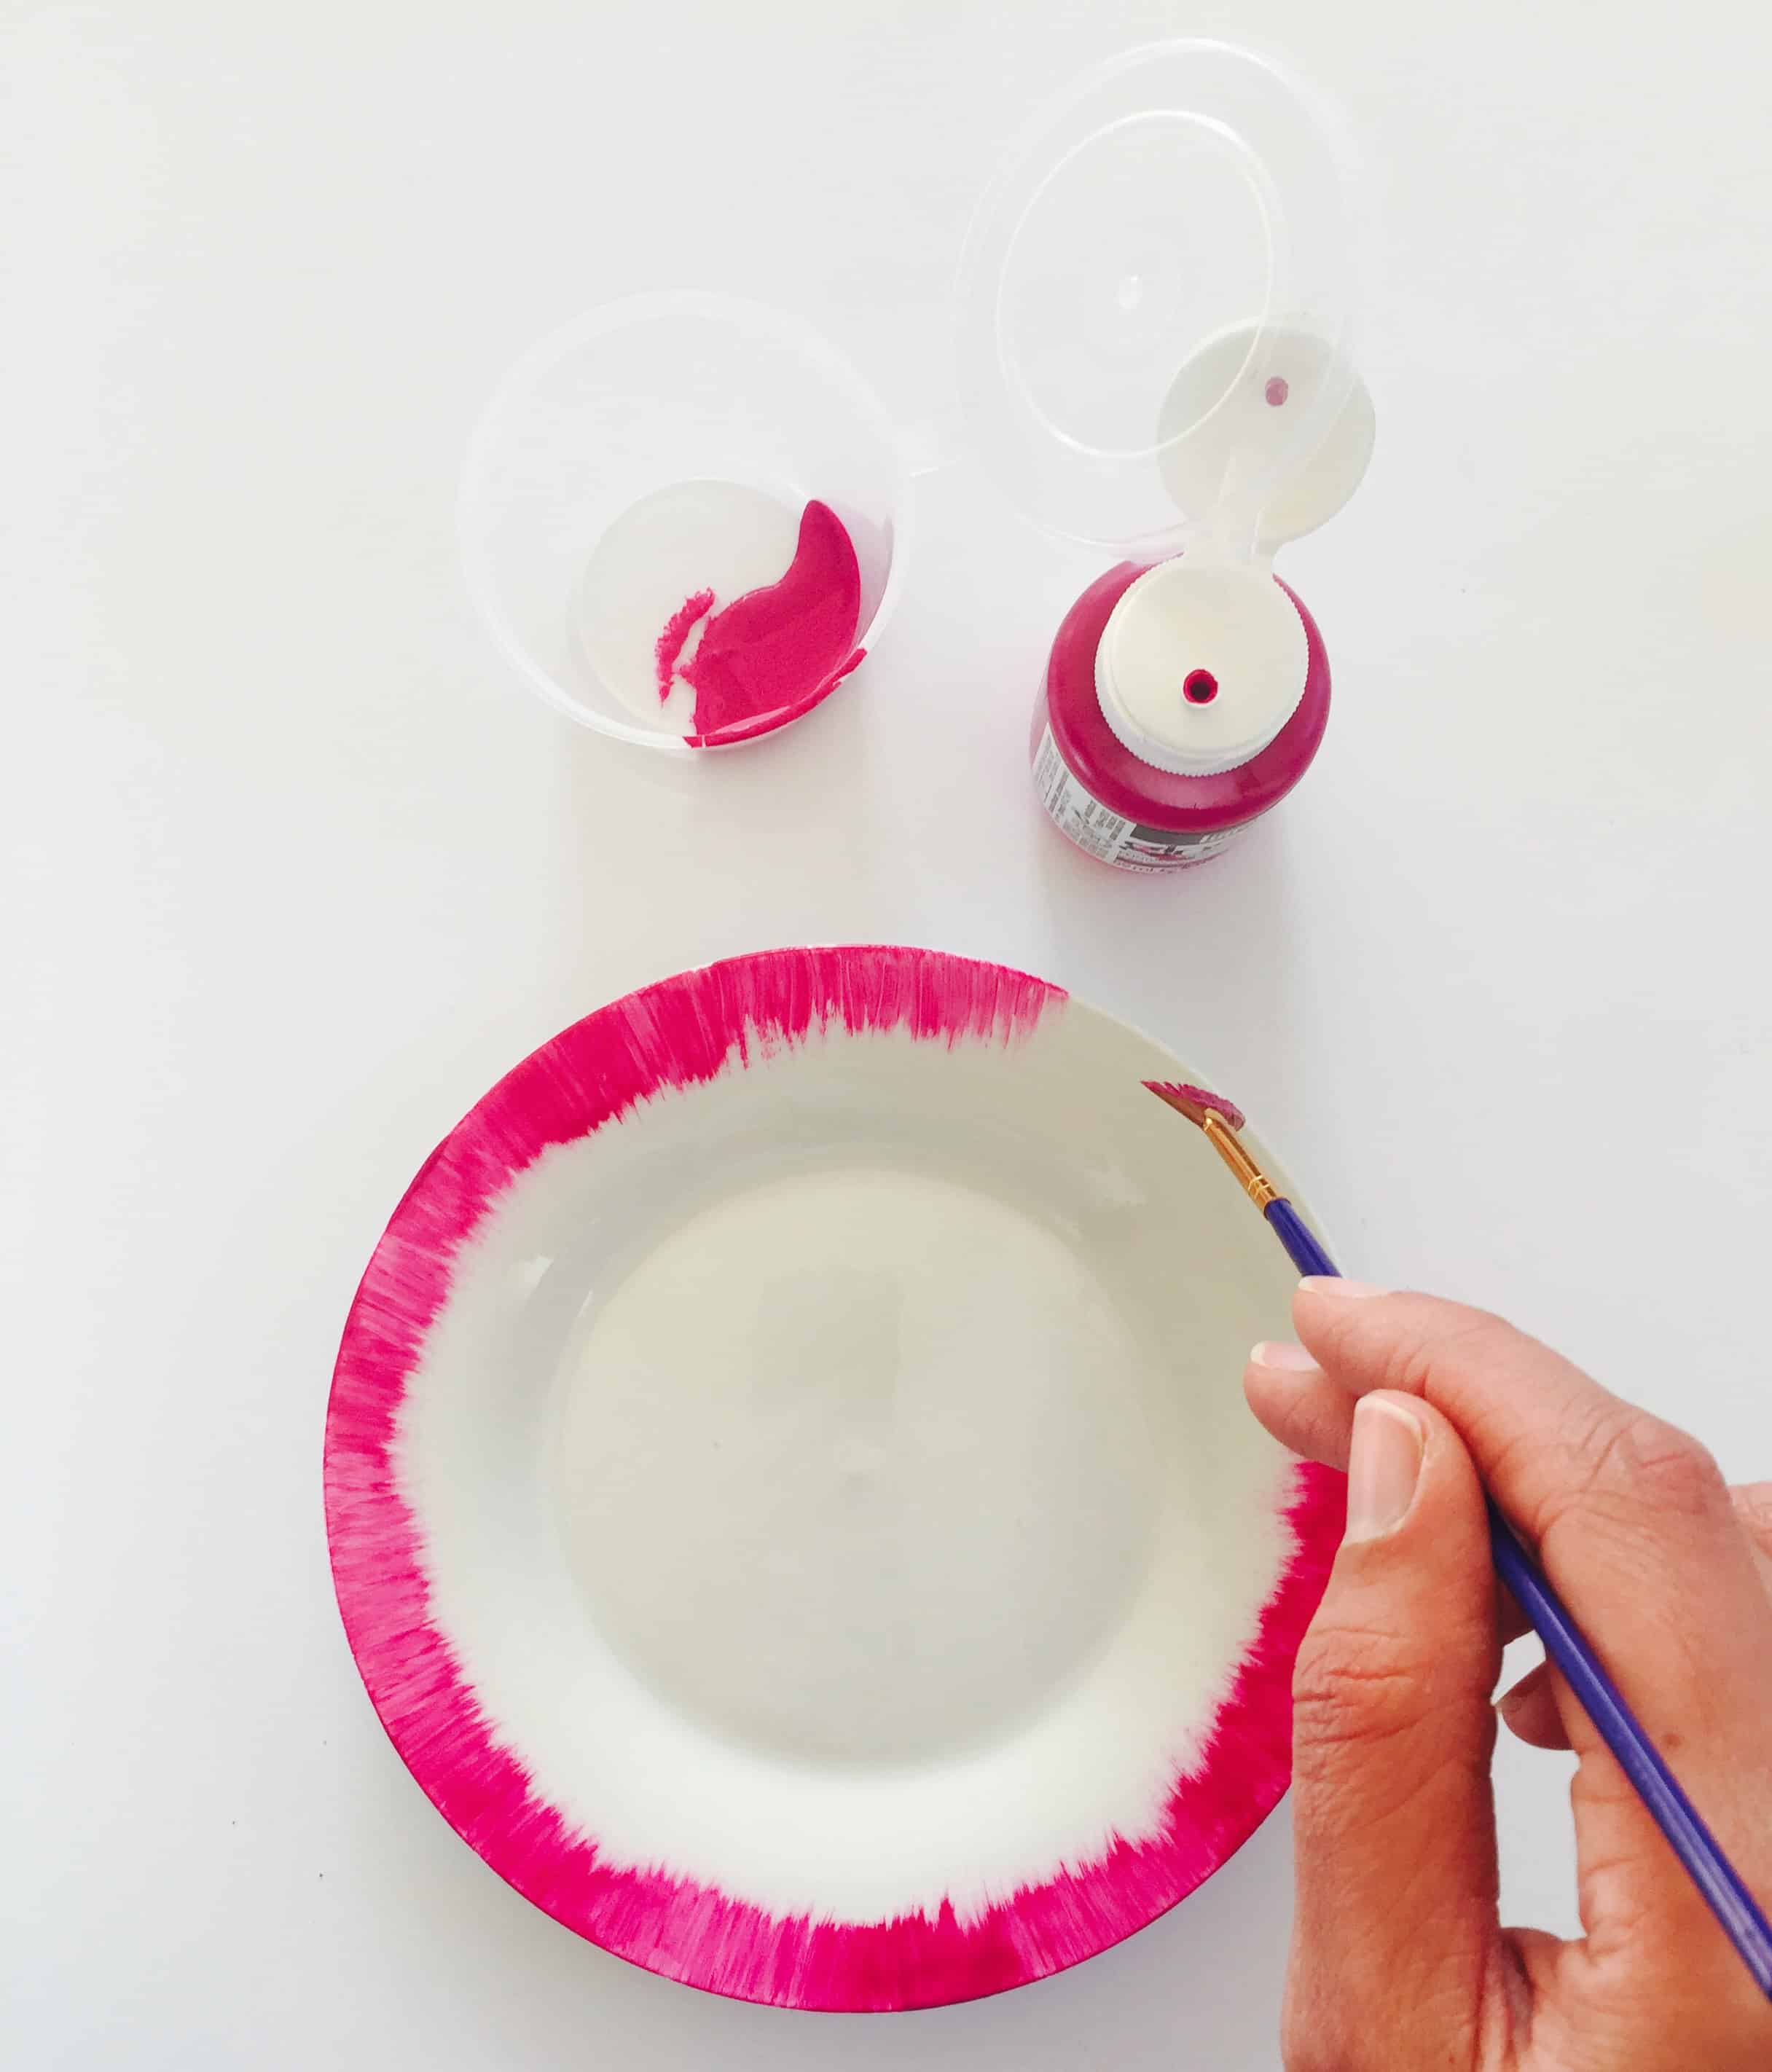
3. Working from the outside edge, make a small swipe (around 1cm) inwards toward the centre of the plate and work, repeating around the perimeter so you can see the brush mark flicks all the way around. Depending on your brand of paint, you can rework the paint and go over it or wash it all off and try again if you’re not happy with the effect.
4. Follow the instructions on your brand of paint – we baked ours for 45 minutes in a 160 degree oven.
Credits
Project and images Miss Bunting |


Recent Posts
A Journey Through the Lens with Lili and Pearl
Island Love Story: Svyatoslav and Kristen's Enchanting Christmas Island Wedding
"Till Death Do Us Party": A Punk-Inspired Wedding Bash in Footscray
Lisa and Gleesha's Elopement: A Tale of Celestial Elegance and Personalised Touches
Madi and Tim's Wedding: A Celebration of Love, Colour, and Unconventional Choices
Love and Ledgers: The Union of Hugh & Felicity Amidst Jervis Bay's Tranquility

Mariia & Matthew: A Celebration of Love and Culture
Frances' Journey: Finding The Perfect Wedding Jewellery
Amy and Taylor’s Wedding: A Symphony of Love, Family, and Personal Touches

A Whimsical Garden Affair: The Wedding of Elizabeth and Chase
Reece and Shalea Whimsical Wedding at Mona Farm, Braidwood
Crafting Memories: Julia’s Journey into Bespoke Wedding Jewellery